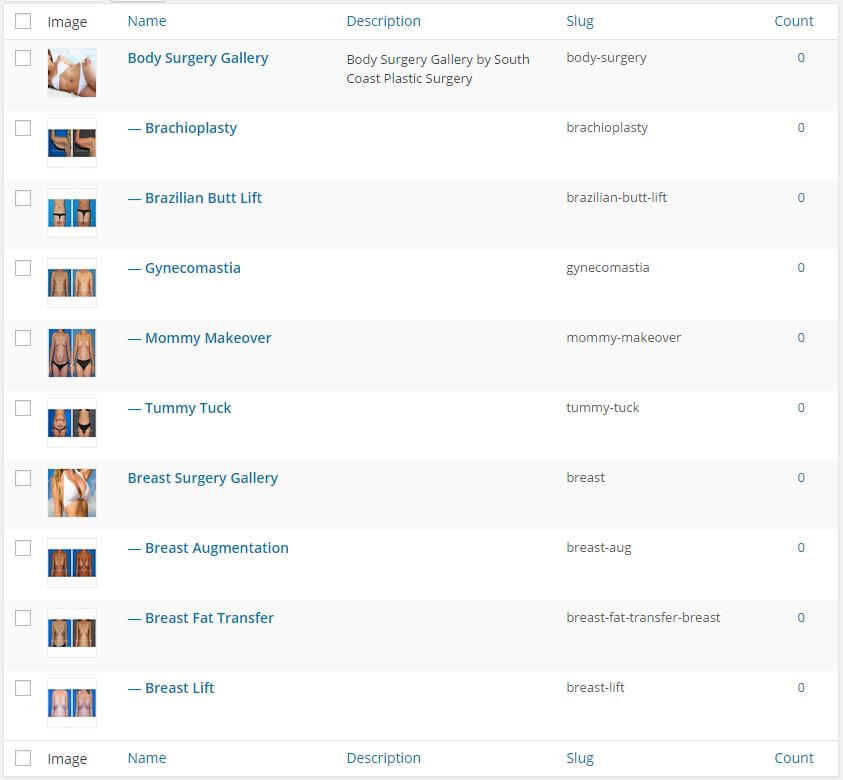
To Create your Categories, visit the section that says “Categories” and fill in the information about that Category.
To Create a Subcategory, just Create the Category first, then select the Category in the “Parent” dropdown.
To Set the Featured Image, User the Upload/Add Image section. Recommended size for this thumbnail is 450 x 300px.
A few easy ways to create Category/Sub Category Images are to do a screen shot of one of your own cases and then use photo editing software to make it the appropriate size. You can also purchase a stock image. For inexpensive stock images, check out PhotoDune.
If you don’t have a photo editing software, you can easily configure this using the free image editing website Canva (hint: they have stock images available for purchase for $1).

